


Introduction
>
whomso for HubSpot admins
Overview
In this article, we'll explain what you need to do to set up whomso for use within your workspace.
Want to learn about what whomso is before installing? Read this short guide here.
Getting Started
If you're reading this guide, you're likely being asked to add whomso to your HubSpot account because you're a Super Admin. Only admins can add new apps to a HubSpot account but anyone can use them. Once you've added whomso, we'll briefly explain how to add your colleagues.
To install whomso:
Log in or create an account using Google or LinkedIn via the create an account page,
Connect to HubSpot when prompted to,
Name your workspace something sensible and add your site URL so we can collect important information on your company.
Once done, you'll be presented with this screen:
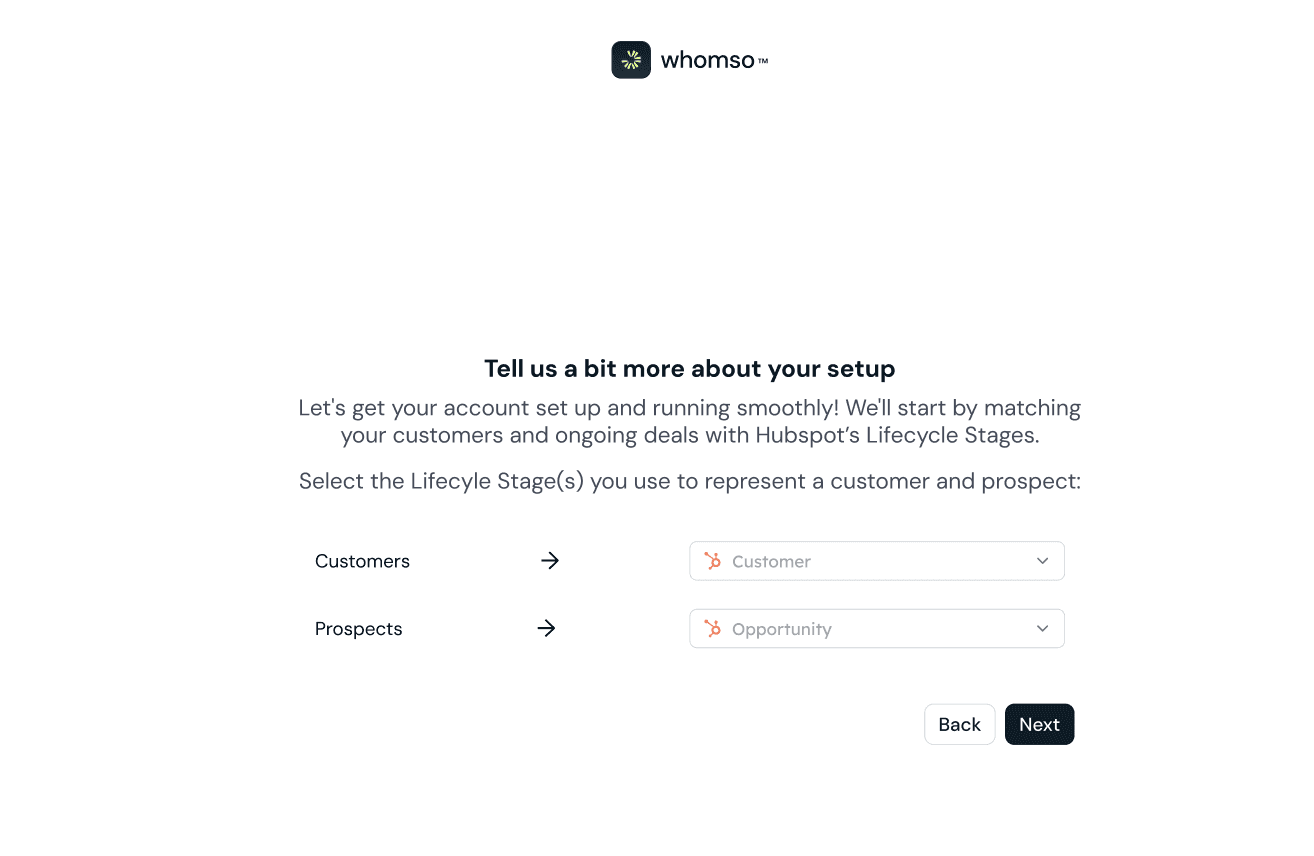
This stage helps us to map your HubSpot Lifecycle Stages to our two user categories: prospects (non-customers in the sales funnel) and customers. You can select multiple stages for each category.
You can change these at any point within settings.
On the final step, you'll be asked to create a test space based on recently added prospects - go ahead and give it a go! We aren't able to send anything out so don't worry about accidentally sharing something with an external company.
Post Set Up
Now that you've set up the account, you'll need to add your team.
To add a user, go to Settings and scroll down to the Team section.
From there, you can invite users to the whomso platform. Once invited, they will receive an email with an invitation link. They must accept the invitation to gain access.
You'll also need to add the app card to the contact within HubSpot which you can read about in the next help article, configuring whomso in HubSpot.